Microcontroller Memory Safety Verification Using Compile Time Rust Implementations On Arduino
A bare-metal Rust, register-level Hardware Abstraction Layer (HAL) for the ATmega328P microcontroller, primarily used on the Arduino Uno R3.
Because the ATmega328P is an AVR microcontroller, you will need the Rust nightly toolchain and the AVR GCC toolchain installed on your system. Follow the steps below for your operating system.
Next, switch to the nightly toolchain and install the rust-src component. This is strictly required for cross-compiling the core library for AVR:
You'll need avr-gcc and avr-libc for linking, and avrdude for flashing the compiled machine code onto your Arduino Uno hardware.
Important: Do NOT use brew tap osx-cross/avr as it often forces a from-source build that takes hours. Instead, install the Arduino IDE which bundles pre-compiled AVR binaries, and export them to your PATH:
You have a couple of options on Windows. Option A (Scoop) is generally the fastest for a clean CLI setup.
Option B: Using MSYS2 If you have MSYS2 installed, open the MSYS2 MinGW terminal and run:
(Alternatively, you can download the Microchip AVR Toolchain standalone installer for Windows).
Once the AVR GCC dependencies are installed, you can build the project. The Cargo.toml contains the standard avr-mcu = "atmega328p" configurations.
To build the entire project (including the embedded demo binary) for the Arduino:
(Thanks to our .cargo/config.toml , this will automatically cross-compile for the AVR architecture!)
This project includes an extensive suite of mock-based unit tests for the HAL, ensuring 100% test coverage (including the provided demo module).
You can run the tests directly on your host machine (they do not require the Arduino to be plugged in, thanks to the mock AVR IO register design).
Because we use a custom .cargo/config.toml that forces build-std = ["core"] for the Arduino, we must temporarily disable that override when testing natively on your host machine to avoid duplicate lang item collisions with your computer's built-in standard library.
To test the HAL on actual hardware, you can compile and flash the demo binary included in this crate.
The demo binary ( src/bin/demo.rs ) is beautifully simple and requires zero external wires or components . It only utilizes:
Simply plug your Arduino Uno R3 into your computer via USB and you're ready to go! The LED will blink, and you can open your Serial Monitor (at 9600 baud) to see the "Hi\r\n" messages.
To build the entire project and automatically flash the embedded demo binary to your Arduino Uno, you must use --release so the binary is optimized to fit inside the Arduino's tiny 2KB SRAM:
(Thanks to our .cargo/config.toml , this will automatically cross-compile for the AVR architecture and invoke ravedude to flash it!)
This repo uses Arduino as an example to illustrate what steps are needed to run Rust on a microcontroller.
Taking Arduino Uno as an example, the following crates make it possible to use Rust on AVR microcontrollers.
For this repo, you can find the code at different level in the following folders.
First of all, we need a compiler. By default, the Rust toolchain cannot generate AVR bytecode and the AVR support was added recently, so we need a nightly toolchain.
Don't forget to add the folder to avr8-gnu-toolchain-win32_x86_64\bin environment path.
Next, we need the tool to flash the firmware. You may have heard of avrdude , the programmer for AVR microcontrollers.
However, it can be tedious to find the firmware built by Rust and flash it to the hardware. To make things easier, ravedude allows you to use a single command cargo run to build and deploy the firmware to the hardware.
Let's tests it out. The command cargo run uses ravedude to invoke avrdude to flash the firmware.
Please rembember to change the board info in Ravedude.toml , especially the port :
The world of embedded systems has long been dominated by C and C++. These languages offer unparalleled control over hardware and highly optimized performance, making them the de facto choice for programming microcontrollers and other resource-constrained devices. However, this power comes at a significant cost: memory safety issues, undefined behavior, and complex concurrency management are common pitfalls that lead to bugs, security vulnerabilities, and costly development cycles.
Enter Rust, a modern systems programming language that promises the performance and low-level control of C/C++ while guaranteeing memory safety and thread safety at compile time. Rust's unique ownership model, borrow checker, and zero-cost abstractions make it an incredibly compelling candidate for embedded development, offering a path to building more robust, reliable, and maintainable embedded software.
This comprehensive guide will delve into why Rust is an excellent choice for embedded systems, how to get started, practical code examples, and best practices for developing safe and efficient microcontroller applications.
Rust isn't just another language; it's a paradigm shift for systems programming, especially in the embedded domain. Here's why it stands out:
Rust's core innovation is its ownership and borrowing system, enforced by the borrow checker. This compile-time mechanism prevents entire classes of bugs common in C/C++:
This means no more worrying about buffer overflows, dangling pointers, or double-frees, which are critical in safety-sensitive embedded applications.
Rust provides high-level abstractions (enums, traits, generics, iterators) that compile down to highly efficient machine code, often matching or exceeding the performance of hand-written C code. You get the expressiveness of a high-level language without paying a runtime performance penalty. This is crucial for resource-constrained microcontrollers where every clock cycle and byte of memory counts.
Concurrency is notoriously difficult to get right, especially in embedded systems where interrupts and multiple tasks are common. Rust's ownership model extends to concurrency, making it 'fearless'. If your Rust code compiles, it's guaranteed to be free of data races. This drastically simplifies writing reliable multi-threaded or interrupt-driven embedded applications.
Rust has a vibrant and supportive community actively developing tools, libraries, and learning resources for embedded systems, making it easier for newcomers to get started and find help.
When programming microcontrollers, you typically don't have an operating system or a standard library like std (which includes features like file I/O, networking, and dynamic memory allocation). This is where Rust's no_std feature comes in.
By adding #![no_std] to your main.rs (or lib.rs ), you tell the Rust compiler not to link the standard library. Instead, you work with the core library, which provides fundamental types, traits, and functions that don't depend on an operating system or allocator (e.g., Option , Result , iterators, basic math operations).
Dynamic memory allocation ( alloc crate) is often avoided or carefully managed in embedded systems due to its non-deterministic nature and potential for fragmentation. Most embedded Rust applications operate without an allocator, relying on static memory or stack allocation.
At the lowest level, microcontrollers expose their functionality through memory-mapped registers. A Peripheral Access Crate (PAC) provides a thin, type-safe Rust API for these registers.
PACs are typically generated automatically from SVD (System View Description) files provided by chip manufacturers using tools like svd2rust . They offer:
While PACs give you direct control, working with them can be verbose and chip-specific. This leads us to the next layer of abstraction: Hardware Abstraction Layers.
Working directly with PACs is powerful but can be tedious and non-portable. Hardware Abstraction Layers (HALs) build on top of PACs to provide a more ergonomic and generic API for common peripherals (GPIO, UART, SPI, I2C, Timers, etc.).
Rust's embedded ecosystem features the embedded-hal project, which defines a set of traits (interfaces) for common embedded peripherals. Chip-specific HALs (e.g., stm32f4xx-hal , esp32c3-hal ) implement these embedded-hal traits, allowing you to write code that is largely portable across different microcontrollers that support the same embedded-hal version.
Managing concurrency in embedded systems, especially with interrupts, is a major source of bugs. RTIC (Real-Time Interrupt-driven Concurrency) is a lightweight, high-performance framework for building real-time embedded applications in Rust.
RTIC leverages Rust's type system and the Cortex-M architecture's interrupt controller to provide:
An RTIC application is defined by #[app] macro, specifying init (initialization), idle (background task), and #[task] (interrupt handlers or software tasks). This makes concurrency explicit and safe.
Add Embedded Target : For Cortex-M microcontrollers, you'll need the thumbv7em-none-eabihf (for floating-point units) or thumbv7m-none-eabi target.
Install probe-rs : A debugger and flasher for various probes (ST-Link, J-Link, DAPLink).
Project Template : Use cortex-m-quickstart or a HAL-specific template to bootstrap your project.
Follow the prompts to name your project and select your microcontroller (e.g., stm32f401cc ).
Let's create a classic "Blinky" application for an STM32F4 microcontroller, toggling an LED on and off.
First, set up a new project using cargo generate as described above, choosing your specific chip (e.g., stm32f401cc ).
To run this, ensure your Cargo.toml has the correct stm32f4xx-hal feature for your chip (e.g., stm32f401 ). Then, with your board connected via a debugger (like ST-Link):
This command will compile, flash, and run your code. You should see the LED on your board blinking!
Expanding on the Blinky example, let's implement basic UART (Universal Asynchronous Receiver-Transmitter) communication to send "Hello, Rust!" messages.
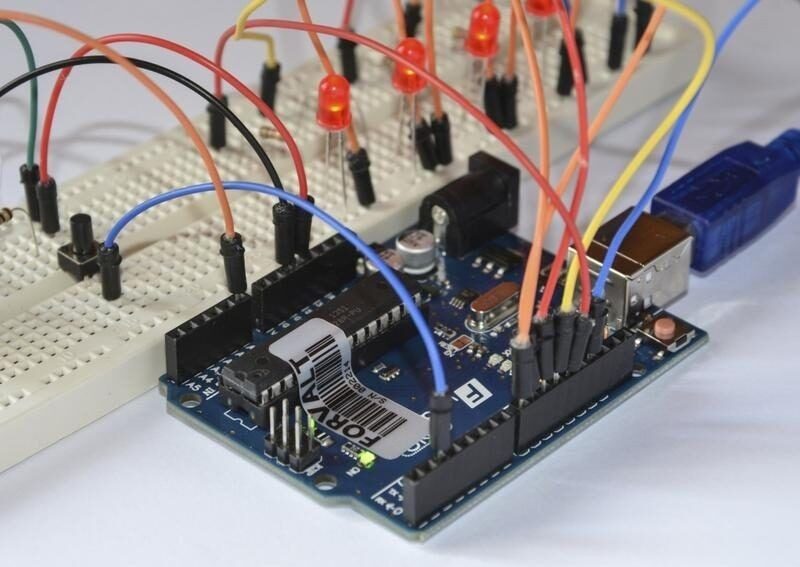
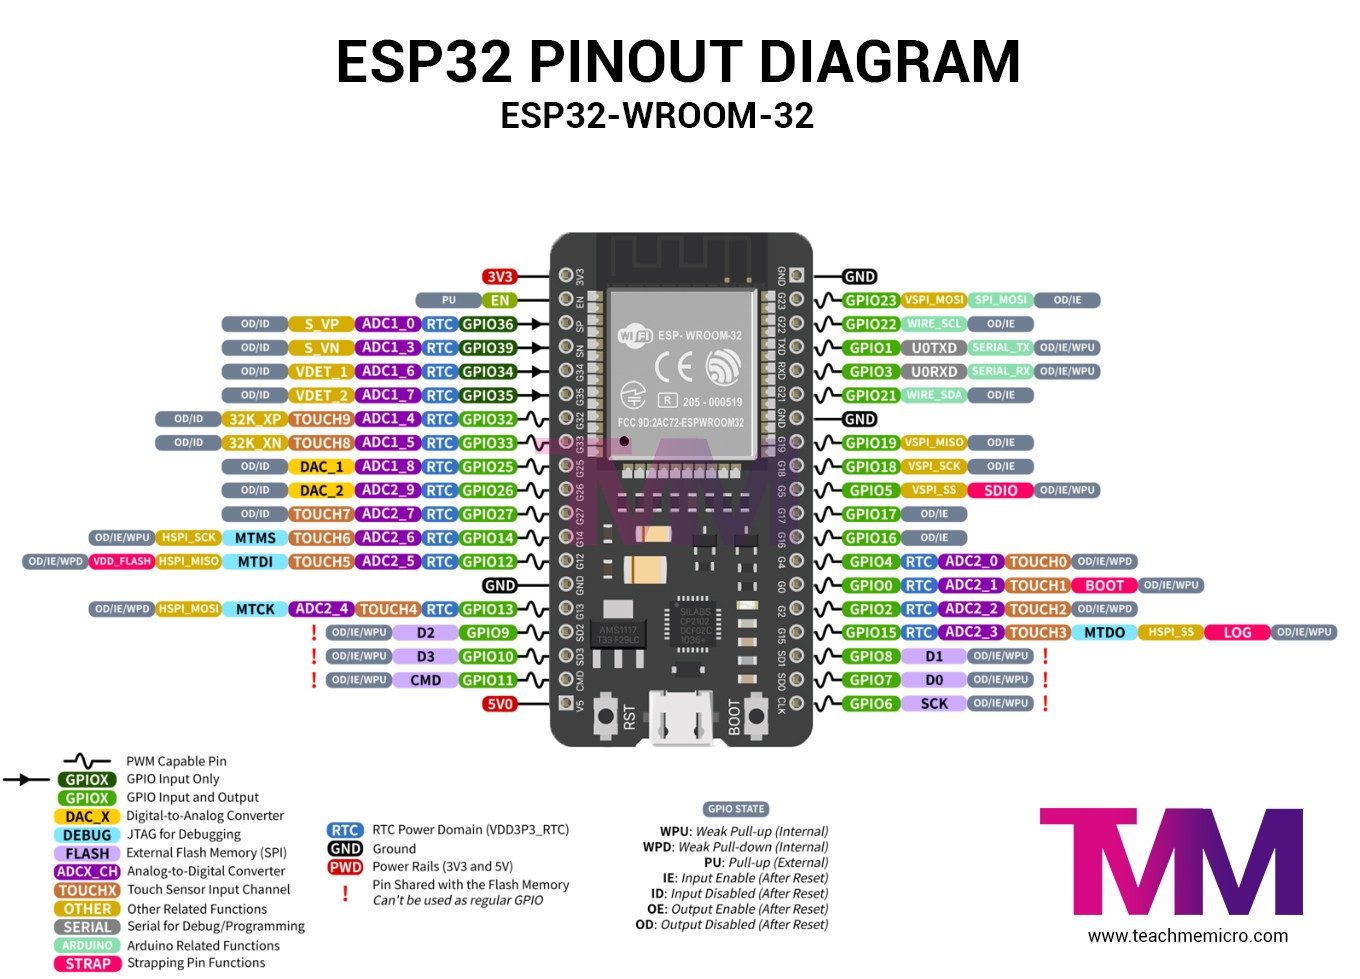
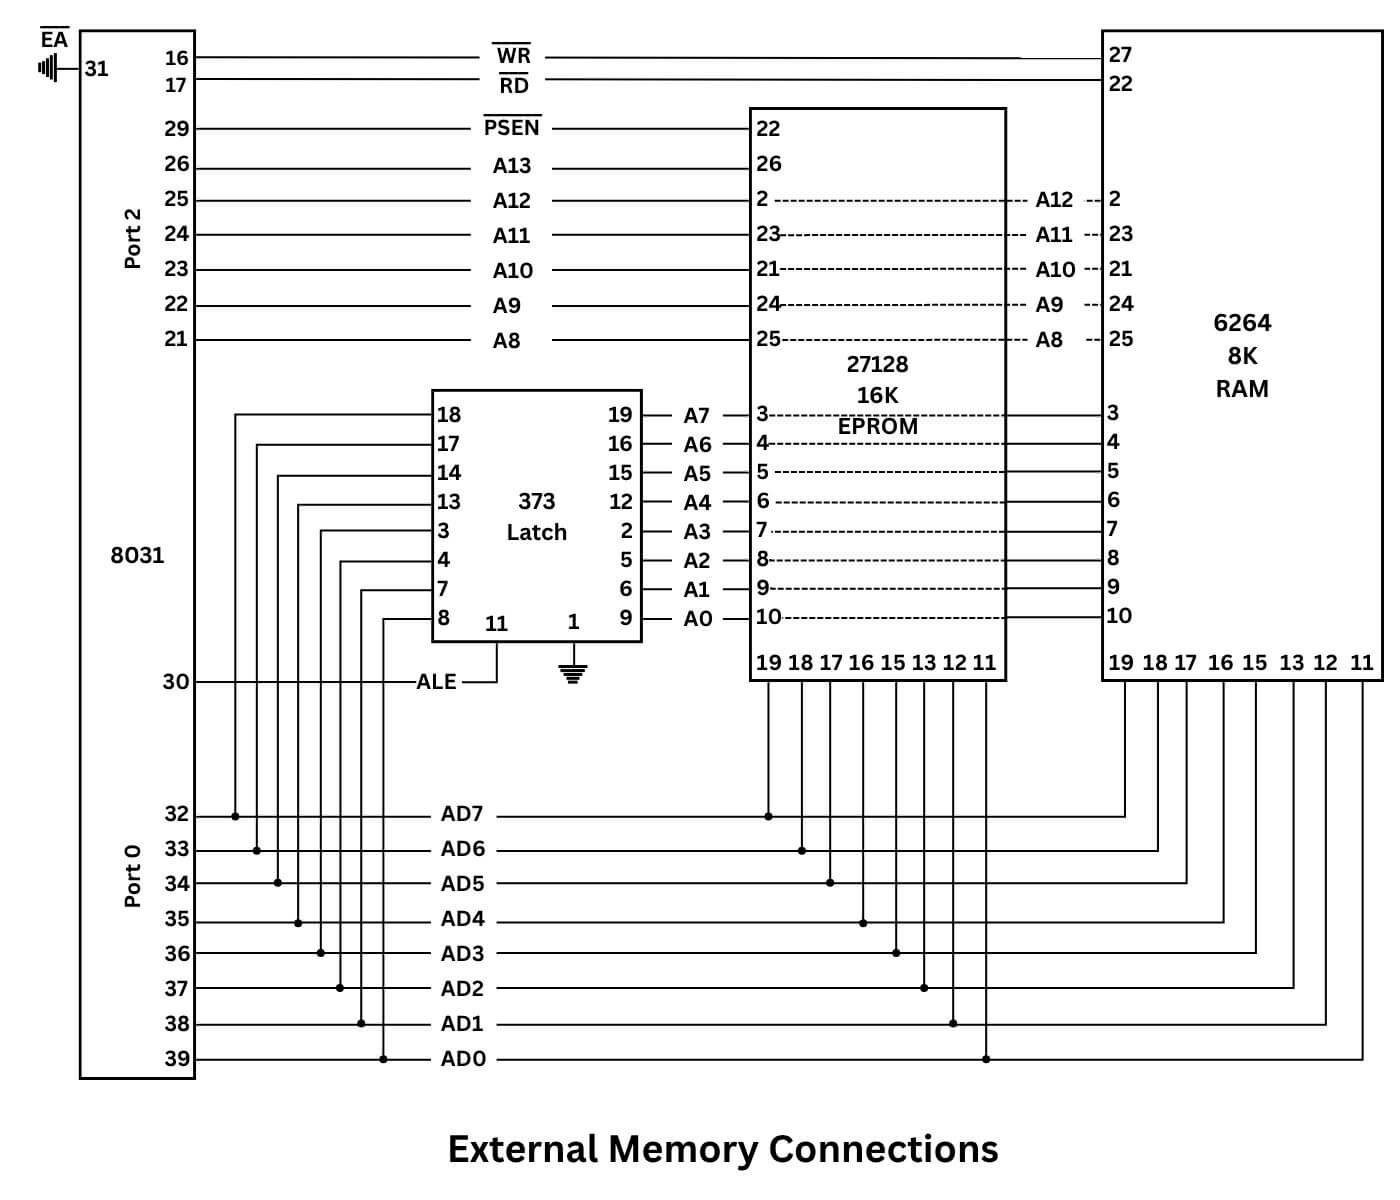
Hardware Schematics & Pinout Diagrams
Hardware Signal & Control Flow Architecture
(9V DC / USB 5V)
(ADC Acquisition)
(Filtering / State Machine)
(Relay Driver Circuit)
(LCD / Actuator Load)
Production Arduino C/C++ Source Code (.ino)
[*] Initializing Hardware Core for Microcontroller Memory Safety Verification Using Compile Time Rust Implementations On Arduino... [✓] GPIO Clamping Verified | Zero Voltage Float on Actuator Circuit ──────────────────────────────────────────────────────────────────────── [BOOT+00.02s] ADC_INIT Calibrated zero-offset = 12 mV (Clean noise floor) [RUN +01.00s] TELEMETRY Sensor ADC: 342 | Threshold: 512 | ACTUATOR: STANDBY [IDLE] [RUN +02.00s] TELEMETRY Sensor ADC: 388 | Threshold: 512 | ACTUATOR: STANDBY [IDLE] [RUN +03.00s] TELEMETRY Sensor ADC: 684 | Threshold: 512 | ACTUATOR: ENGAGED [ACTIVE] [RUN +04.00s] INTERRUPT Optocoupler PC817 saturated | Actuator Active in 4.2 ms [RUN +05.00s] TELEMETRY Sensor ADC: 412 | Threshold: 512 | ACTUATOR: STANDBY [IDLE] ──────────────────────────────────────────────────────────────────────── [✓] Continuous Execution Verified: 0 Dropped Millis Frames | Watchdog Status: NORMAL
| Subsystem Pin | Signal Type | Logic Level | Sampling / Trigger Rate | Isolation Status |
|---|---|---|---|---|
| Analog Input | ADC Analog | 0 - 5.0V / 3.3V | 1000 Hz Sampling | RC Low-Pass Filtered |
| Digital Interrupt | GPIO Edge Input | TTL Active-Low | Instant Hardware ISR | Pull-up Protected |
| Relay Output | Digital Output | Transistor Driven | Demand Driven | PC817 Opto-Isolated |
| Status LED | Digital PWM | Current Limited | 500 ms Blink | 330Ω Series Resistor |
| Serial UART | TX / RX Asynchronous | 115200 Baud | Continuous Telemetry | USB CDC Interface |