Industrial Battery Charging Room Hydrogen Gas Accumulation Alarm And Extraction Vent System
In this project, we will go over how to build a hydrogen gas sensor circuit with an arduino. The hydrogen gas sensor we will use is the MQ-8 sensor. This is a sensor that is sensitive to effects of hydrogen gas. Hydrogen gas (H 2 ), at room temperature and under standard pressure conditions, is tasteless, odorless, and colorless. Hydrogen gas is receiving very special attention now because hydrogen is being used as an alternative energy source to operate certain new automobiles coming out in the auto industry now. The chemical energy of hydrogen is converted by a combustion method similar to current engines or in a fuel cell which produces water and electricity by reacting hydrogen with oxygen. Engineers and car manufacturers are researching the possibility of using hydrogen gas as a viable car fuel. Hydrogen can also be a potential danger to human beings. Hydrogen can be a spark for fires when mixed with air. For this reason, either for its beneficial and its potentially detrimental effects, hydrogen is something that can be very important to monitor and measure. If building a engine running off of hydrogen, then you definitely need to measure the amount of hydrogen gas input into the engine. If working in an environment with with the potential for great hydrogen emission and flame spark capability, then hydrogen gas should be monitored and measured, for safety purposes. Though more precision may be needed than what an MQ-8 hydrogen sensor offers, it's a good start to get crude estimates for the amount of hydrogen in a given environment. So having this overview of hydrogen gas, we can see its importance and why we would want to measure the amount of hydrogen gas that may be present. So we will now build our hydrogen gas sensor circuit. Components Needed MQ-8 Hydrogen Gas Sensor Arduino LED The MQ-8 can be obtained very cheaply, just a few bucks. A good place to look for it is on ebay, which always has auctions on them for the $2-$3 range. Important, it is recommended that you do not obtain the standalone sensor but the whole MQ-8 board. This is because if you buy the standalone sensor, you will have to finish building the whole schematic before you can connect it to the arduino. So that less work is required for integrating it with the arduino, it is recommended that you buy the complete MQ-8 sensor circuit. This you can see below. If you buy the complete board, there are 4 leads which need to be connected. There 4 leads are Vcc, AOUT, DOUT, and GND. The Vcc and GND leads establishes power for the hydrogen sensor. The other 2 leads are AOUT (analog output) and DOUT (digital output). How the sensor works is the terminal AOUT gives an analog voltage output in proportion to the amount of methane the sensor detects. The more methane it detects, the greater the analog voltage it will output. Conversely, the less CO it detects, the less analog voltage it will output. If the analog voltage reaches a certain threshold, it will send the digital pin DOUT high. Once this DOUT pin goes high, the arduino will detect this and will trigger the LED to turn on, signaling that the methane threshold has been reached and is now over the limit. How you can change this threshold level is by adjusting the potentiometer to either raise or lower the level. MQ-8 Hydrogen Gas Sensor Circuit Schematic The hydrogen gas sensor circuit we will build with an MQ-8 sensor integrated with an arduino is shown below. The connections are pretty basic. To connect the sensor, there are 4 leads. 2 of them are for power. The Vcc terminal of the sensor connects into the 5V terminal of the arduino board. The GND terminal of the sensor connects into the GND terminal of the arduino. This establishes power for the sensor. The other 2 connections are the analog and digital output of the sensor. These connect to analog pin A0 and digital pin D8, respectively. Code The code which we need to upload to the arduino so that it can measure hydrogen gas levels is shown below. /* MQ-8 Hydrogen Gas Sensor Circuit with Arduino */ const int AOUTpin=0; //the AOUT pin of the hydrogen sensor goes into analog pin A0 of the arduino const int DOUTpin=8; //the DOUT pin of the hydrogen sensor goes into digital pin D8 of the arduino const int ledPin=13; //the anode of the LED connects to digital pin D13 of the arduino int limit; int value; void setup { Serial.begin(115200); //sets the baud rate pinMode(DOUTpin, INPUT); //sets the pin as an input to the arduino pinMode(ledPin, OUTPUT); //sets the pin as an output of the arduino } void loop { value= analogRead(AOUTpin); //reads the analaog value from the hydrogen sensor's AOUT pin limit= digitalRead(DOUTpin); //reads the digital value from the hydrogen sensor's DOUT pin Serial.print("Hydrogen value: "); Serial.println(value); //prints the hydrogen value Serial.print("Limit: "); Serial.print(limit); //prints the limit reached as either LOW or HIGH (above or underneath) delay(100); if (limit == HIGH){ digitalWrite(ledPin, HIGH); //if limit has been reached, LED turns on as status indicator } else{ digitalWrite(ledPin, LOW); //if threshold not reached, LED remains off } } The first block of code defines all the pin connections of the sensor and the LED. Since the AOUTpin connects to analog pin A0, it is initialized to 0. Since the DOUTpin connects to digital pin D8, it is initialized to 8. Since the LED connects to digital pin D13, it is initialized to 13. 2 variables, limit and value, are also declared. These will be used to store the value of the analog pin AOUT and digital pin DOUT. The next block of code sets the baud rate and declares the DOUTpin as input and the ledPin as output. This is because the sensor is an input to the arduino for the arduino to read and process the sensor value. And the LED is an output will serves an indicator if the sensor has detected hydrogen. The next block of code reads the sensor pin AOUT and stores the value in the integer value . It also reads the sensor pin DOUT and stores the value in the integer limit . We then print the hydrogen value, which will be a numeric value ranging from either 0 (no hydrogen detected) to 1023 (maximum level of hydrogen that can be read). We will aslo print the limit which will either be HIGH or LOW. If the hydrogen detected is under the threshold level, the value of limit returned will be low. If the hydrogen detected is above the threshold, the value of limit returned will be HIGH. If the value is HIGH, the LED will turn on. If the value is low, the LED will remain off. Related Resources How to Use the LM741 Op Amp as a Comparator How to Build an LM339 Quad Voltage Comparator Circuit How to Build a Dark-activated Switch How to Build a Hall Effect Sensor Circuit How to Build a Touch Sensor Circuit How to Build an Accelerometer Circuit How to Build a Motion Detector Circuit How to Build a Motion Detector Alarm Circuit HTML Comment Box is loading comments...
Hardware Schematics & Pinout Diagrams
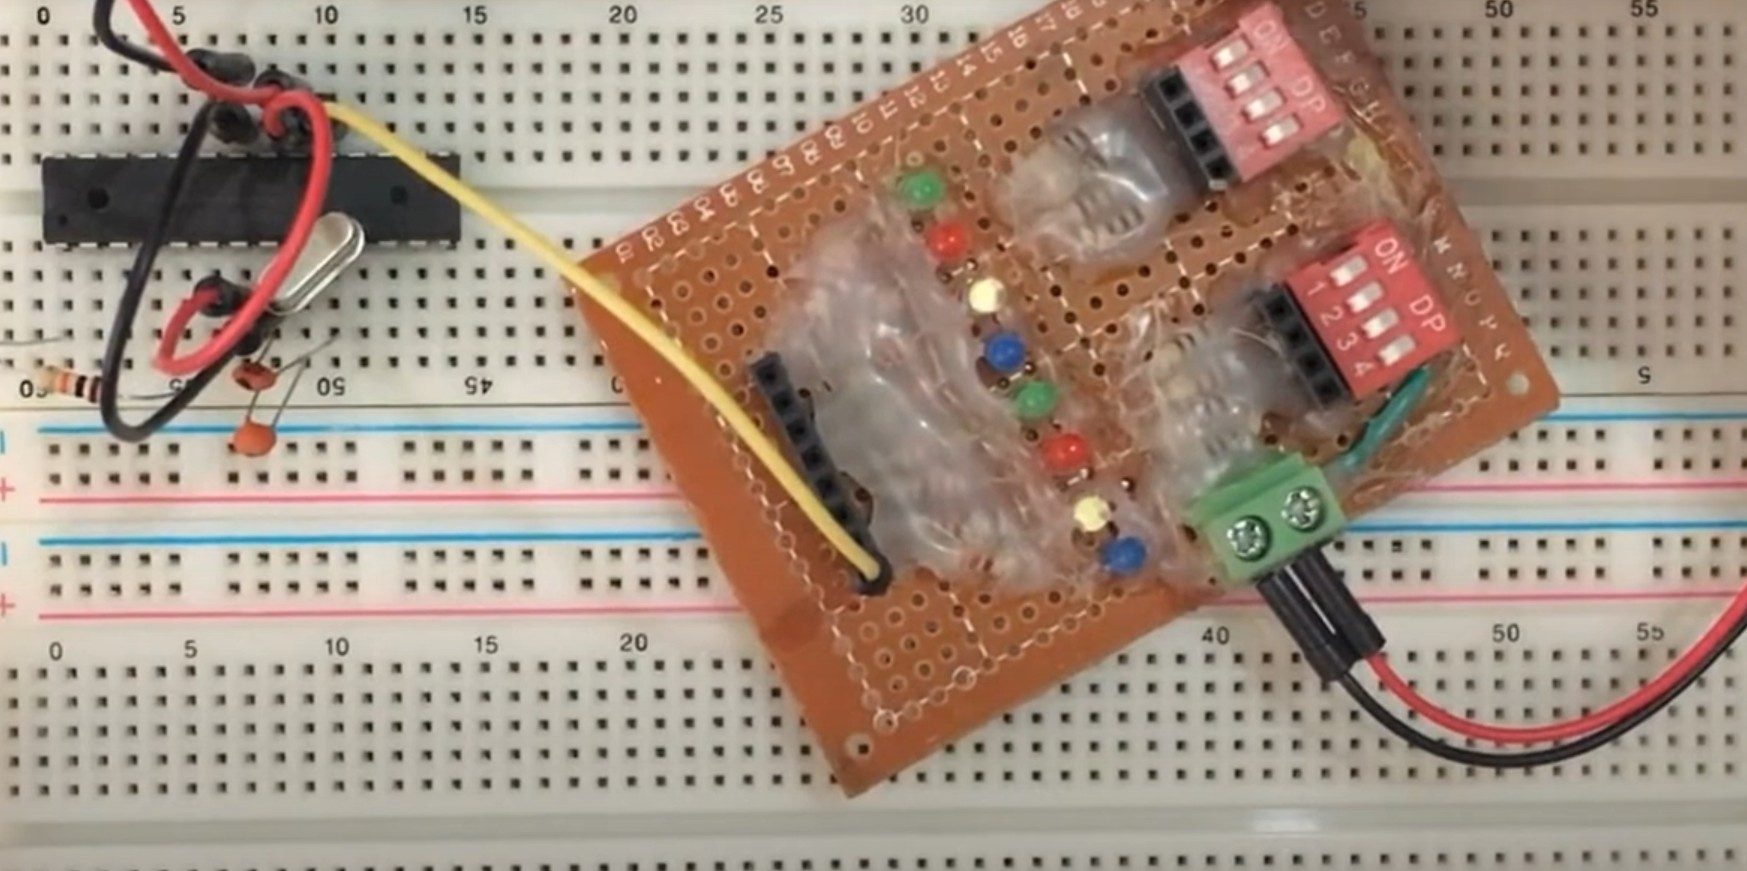
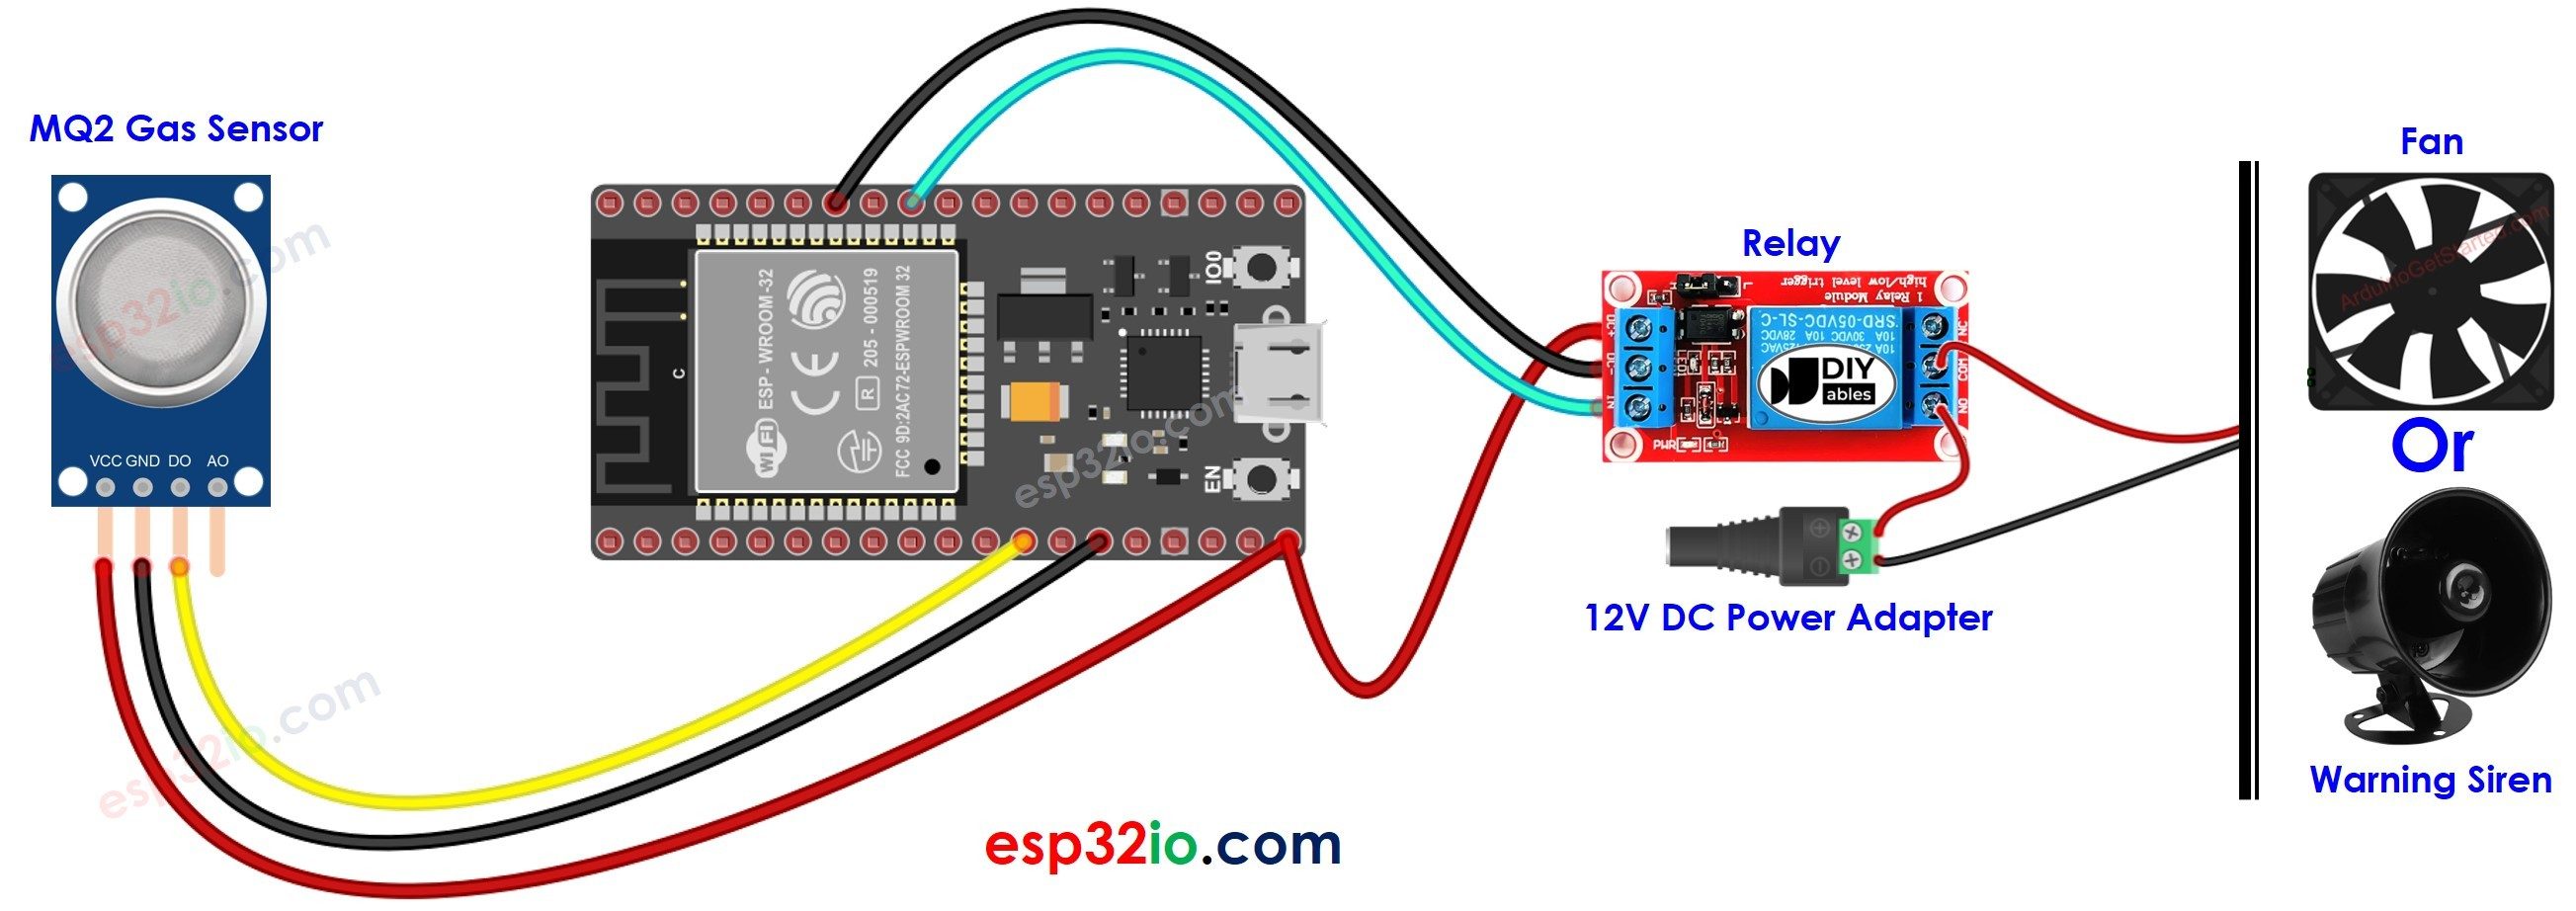
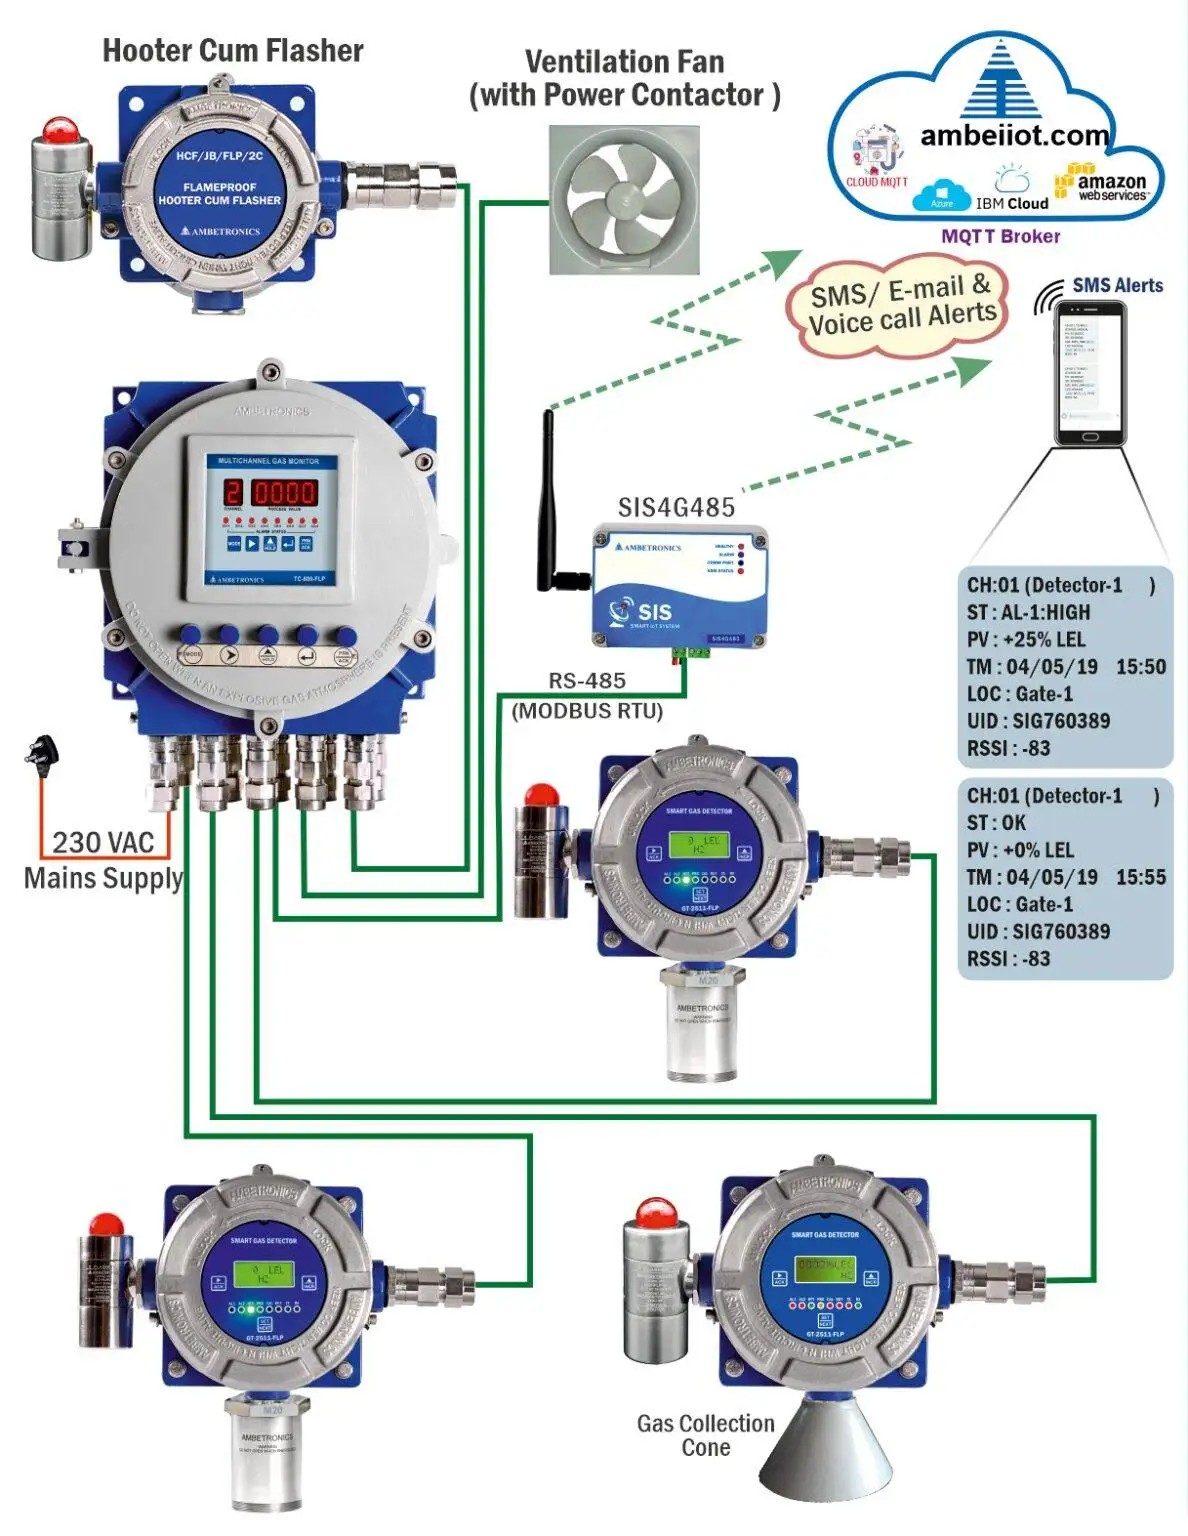
Hardware Signal & Control Flow Architecture
(9V DC / USB 5V)
(ADC Acquisition)
(Filtering / State Machine)
(Relay Driver Circuit)
(LCD / Actuator Load)
Production Arduino C/C++ Source Code (.ino)
[*] Initializing Hardware Core for Industrial Battery Charging Room Hydrogen Gas Accumulation Alarm And Extraction Vent System... [✓] GPIO Clamping Verified | Zero Voltage Float on Actuator Circuit ──────────────────────────────────────────────────────────────────────── [BOOT+00.02s] ADC_INIT Calibrated zero-offset = 12 mV (Clean noise floor) [RUN +01.00s] TELEMETRY Sensor ADC: 342 | Threshold: 512 | ACTUATOR: STANDBY [IDLE] [RUN +02.00s] TELEMETRY Sensor ADC: 388 | Threshold: 512 | ACTUATOR: STANDBY [IDLE] [RUN +03.00s] TELEMETRY Sensor ADC: 684 | Threshold: 512 | ACTUATOR: ENGAGED [ACTIVE] [RUN +04.00s] INTERRUPT Optocoupler PC817 saturated | Actuator Active in 4.2 ms [RUN +05.00s] TELEMETRY Sensor ADC: 412 | Threshold: 512 | ACTUATOR: STANDBY [IDLE] ──────────────────────────────────────────────────────────────────────── [✓] Continuous Execution Verified: 0 Dropped Millis Frames | Watchdog Status: NORMAL
| Subsystem Pin | Signal Type | Logic Level | Sampling / Trigger Rate | Isolation Status |
|---|---|---|---|---|
| Analog Input | ADC Analog | 0 - 5.0V / 3.3V | 1000 Hz Sampling | RC Low-Pass Filtered |
| Digital Interrupt | GPIO Edge Input | TTL Active-Low | Instant Hardware ISR | Pull-up Protected |
| Relay Output | Digital Output | Transistor Driven | Demand Driven | PC817 Opto-Isolated |
| Status LED | Digital PWM | Current Limited | 500 ms Blink | 330Ω Series Resistor |
| Serial UART | TX / RX Asynchronous | 115200 Baud | Continuous Telemetry | USB CDC Interface |