Development Of An Automated Seed Sowing And Uniform Spacing Mechanism Using Stepper Motors And Arduino
This project is an automated seed sowing machine that can be controlled using an Arduino microcontroller. The machine is designed to help farmers sow seeds efficiently and accurately, reducing the amount of time and labor required for planting.
The seed sowing machine uses a stepper motor to control the rotation of a disc that holds the seeds. The seeds are dispensed through a small opening in the disc and are guided into the soil using a funnel. The machine is controlled using an Arduino board, which can be programmed to control the speed and duration of the motor, as well as the amount of seeds dispensed.
Arduino Board (Uno or Nano) Stepper Motor L293D Motor Driver 9V Battery Funnel Disc Wooden base Screws and nuts Jumper Wires
Connect the components as shown in the circuit diagram. Connect the Arduino board to your computer and upload the code. Fill the disc with seeds and place it on the machine. Power the machine using a 9V battery. Adjust the speed and duration of the motor using the code to suit your requirements. Place the funnel on the soil and turn on the machine to start seeding.
The code for the seed sowing machine is available in the automated_seed_sowing_machine.ino file.
This automated seed sowing machine can be a useful tool for farmers looking to increase efficiency and accuracy in their planting process. By using an Arduino microcontroller to control the machine, the speed and duration of the motor can be adjusted to suit the specific requirements of each crop. With some adjustments, this machine can be scaled up to cover larger fields and can even be used for other purposes such as fertilizing or spraying.
Objective: • Manufacture seed sowing machine that senses atmospheric conditions and performs soil digging, seed planting and covering Approach: • Designed using CAD software (Fusion 360, Inventor) and manufactured precisely using lathes, milling, and 3D printers • Implemented the DHT-11 sensor for collecting and analysing real-time atmospheric temperature and humidity data • Automated 9V DC water pump and adjusted 12V DC motor speed using Arduino UNO based on collected data Outcome: • Successfully developed a fully functional seed sowing machine that automates based on real-time environmental data
• Designed using CAD software (Fusion 360, Inventor) and manufactured precisely using lathes, milling, and 3D printers • Implemented the DHT-11 sensor for collecting and analysing real-time atmospheric temperature and humidity data • Automated 9V DC water pump and adjusted 12V DC motor speed using Arduino UNO based on collected data
Abstract: In modern agriculture, we use tractor machines for seed sowing. In the sowing process, the distance between two seeds is crucial. Therefore, we have implemented a circuit on the tractor seed sowing machine using Arduino. This approach reduces the cost for manufacturers since there is no need to purchase new machines; it can be integrated into existing seed sowing machines. This modification allows for precise seed placement in the soil at a predetermined distance between two seeds, thereby enhancing crop production.
Keywords : Arduino, Automation, Crop Output, Precision Farming, Sowing Machine, Smart Agriculture, Seed Sowing, Tractor, Speed Control.
Hardware Schematics & Pinout Diagrams
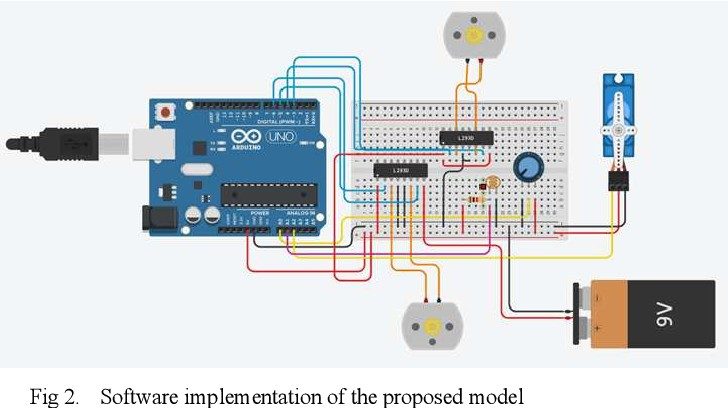
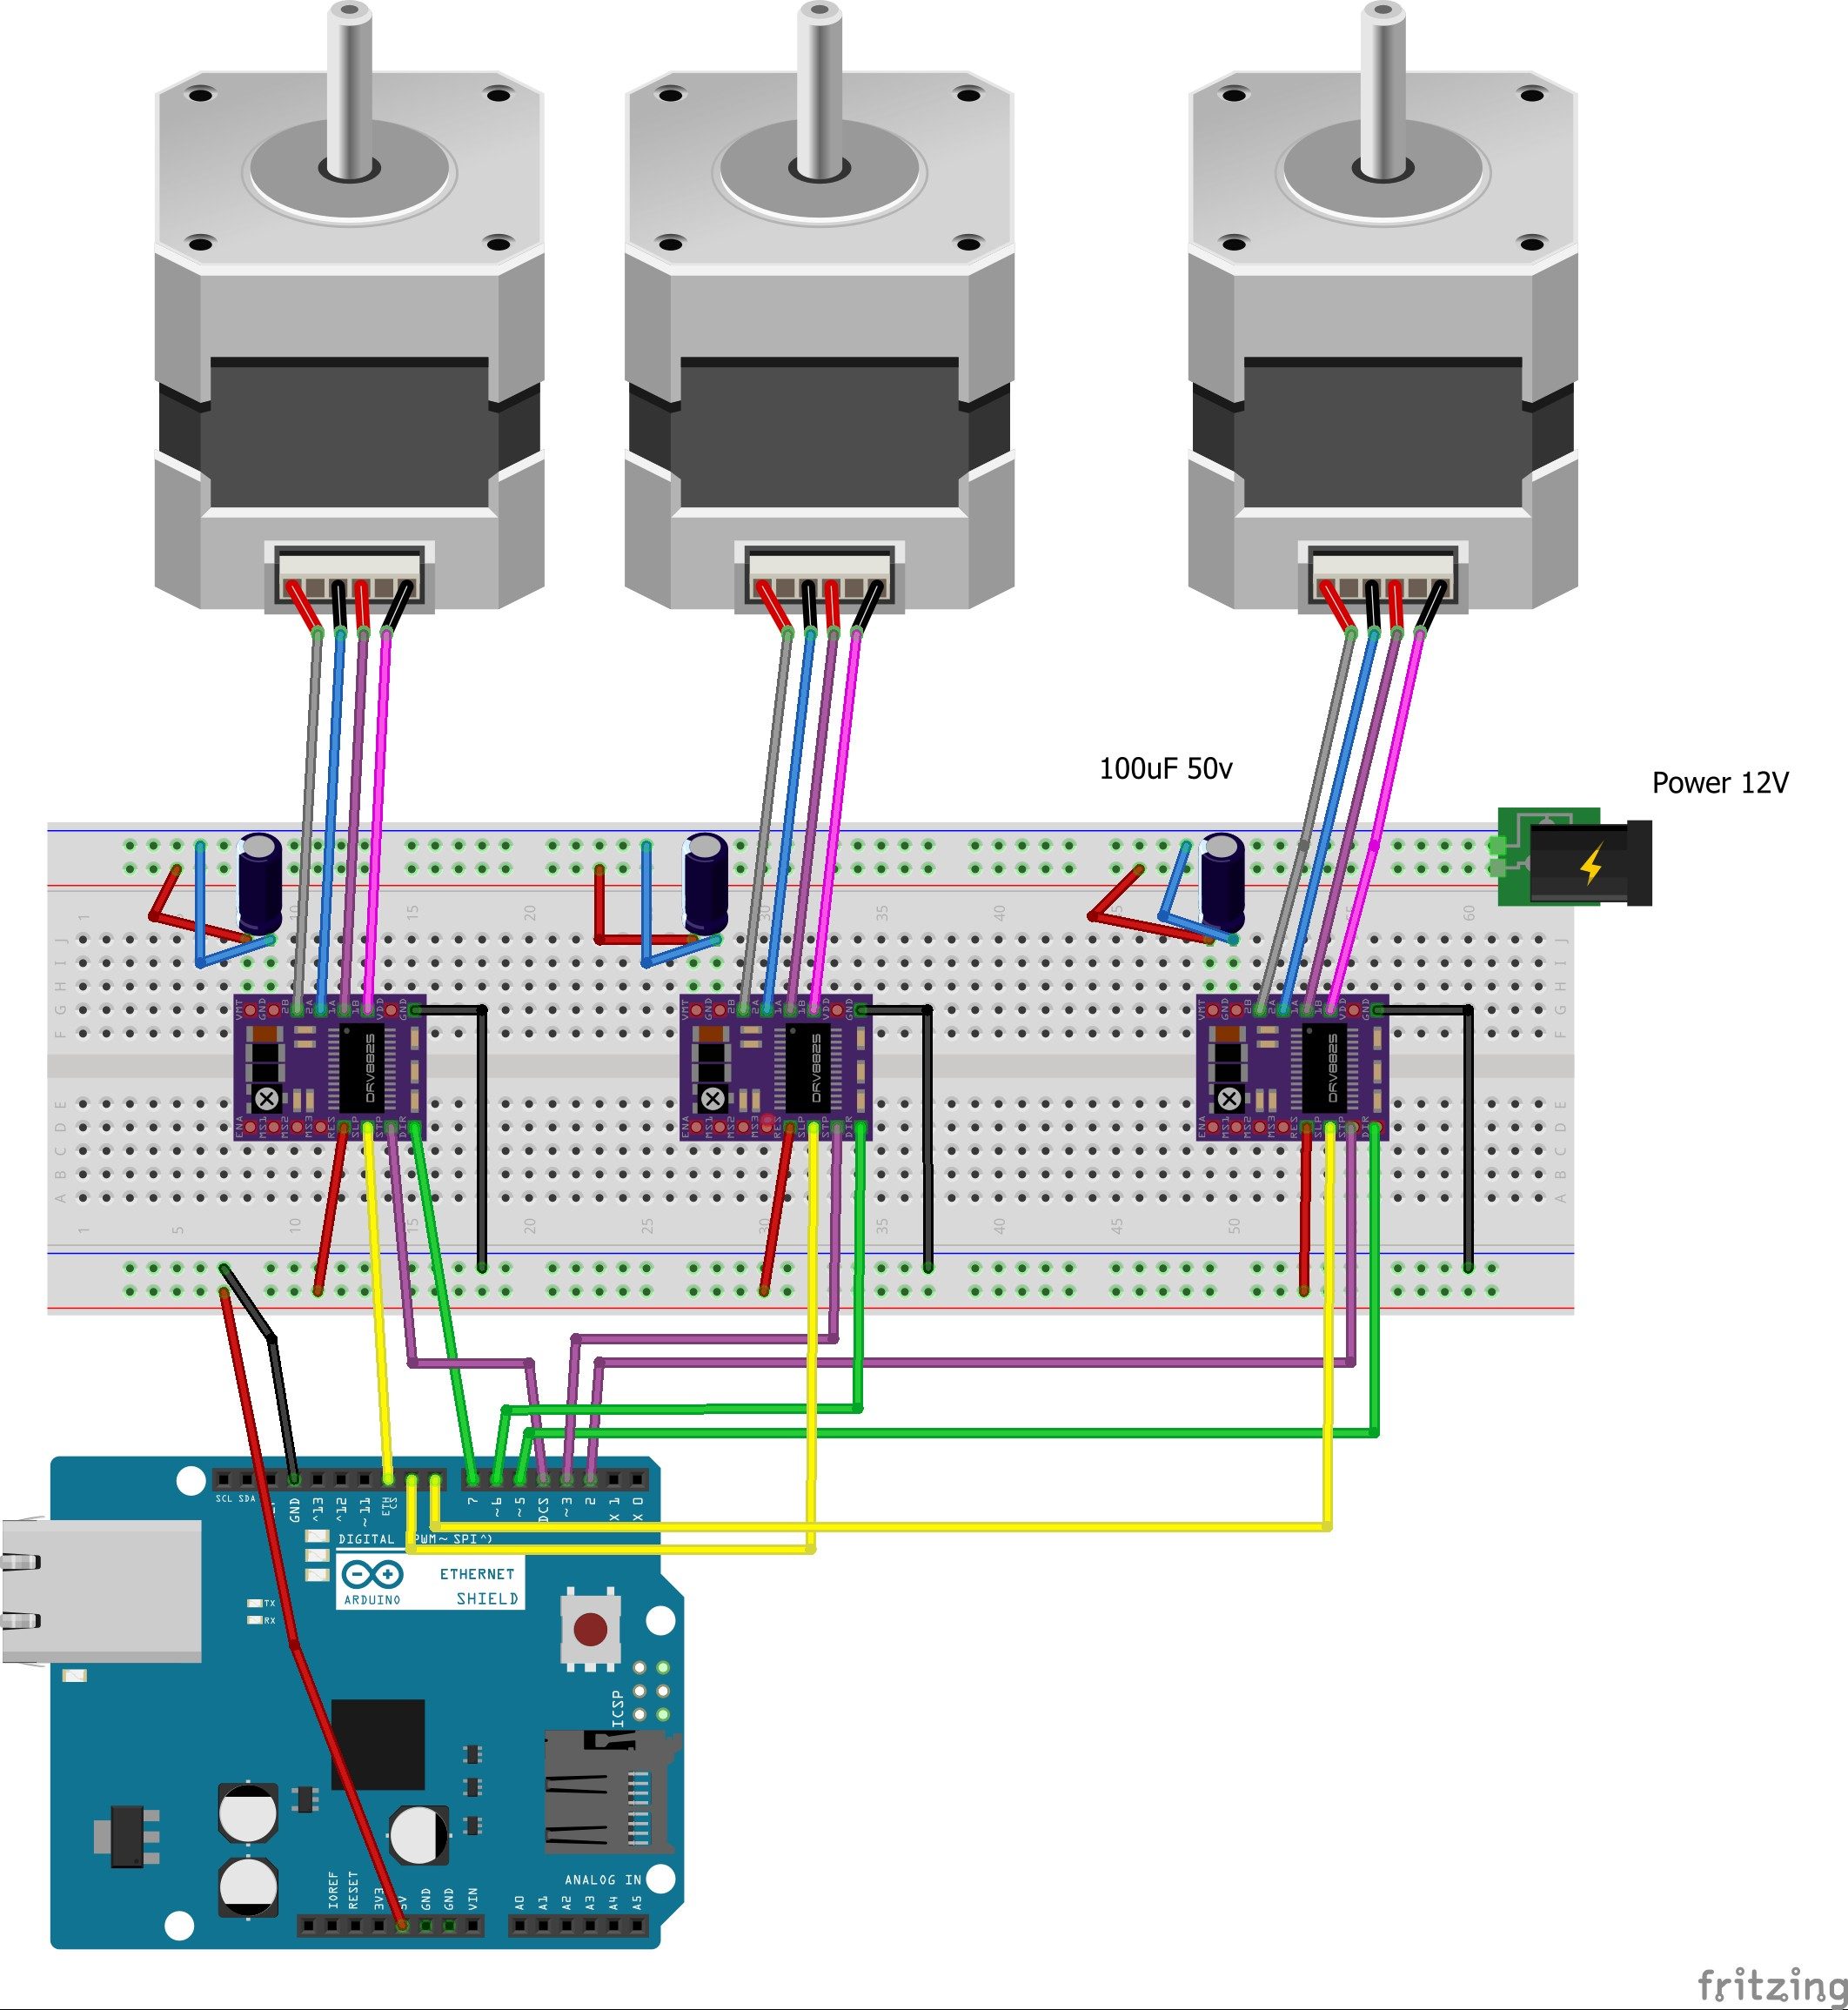
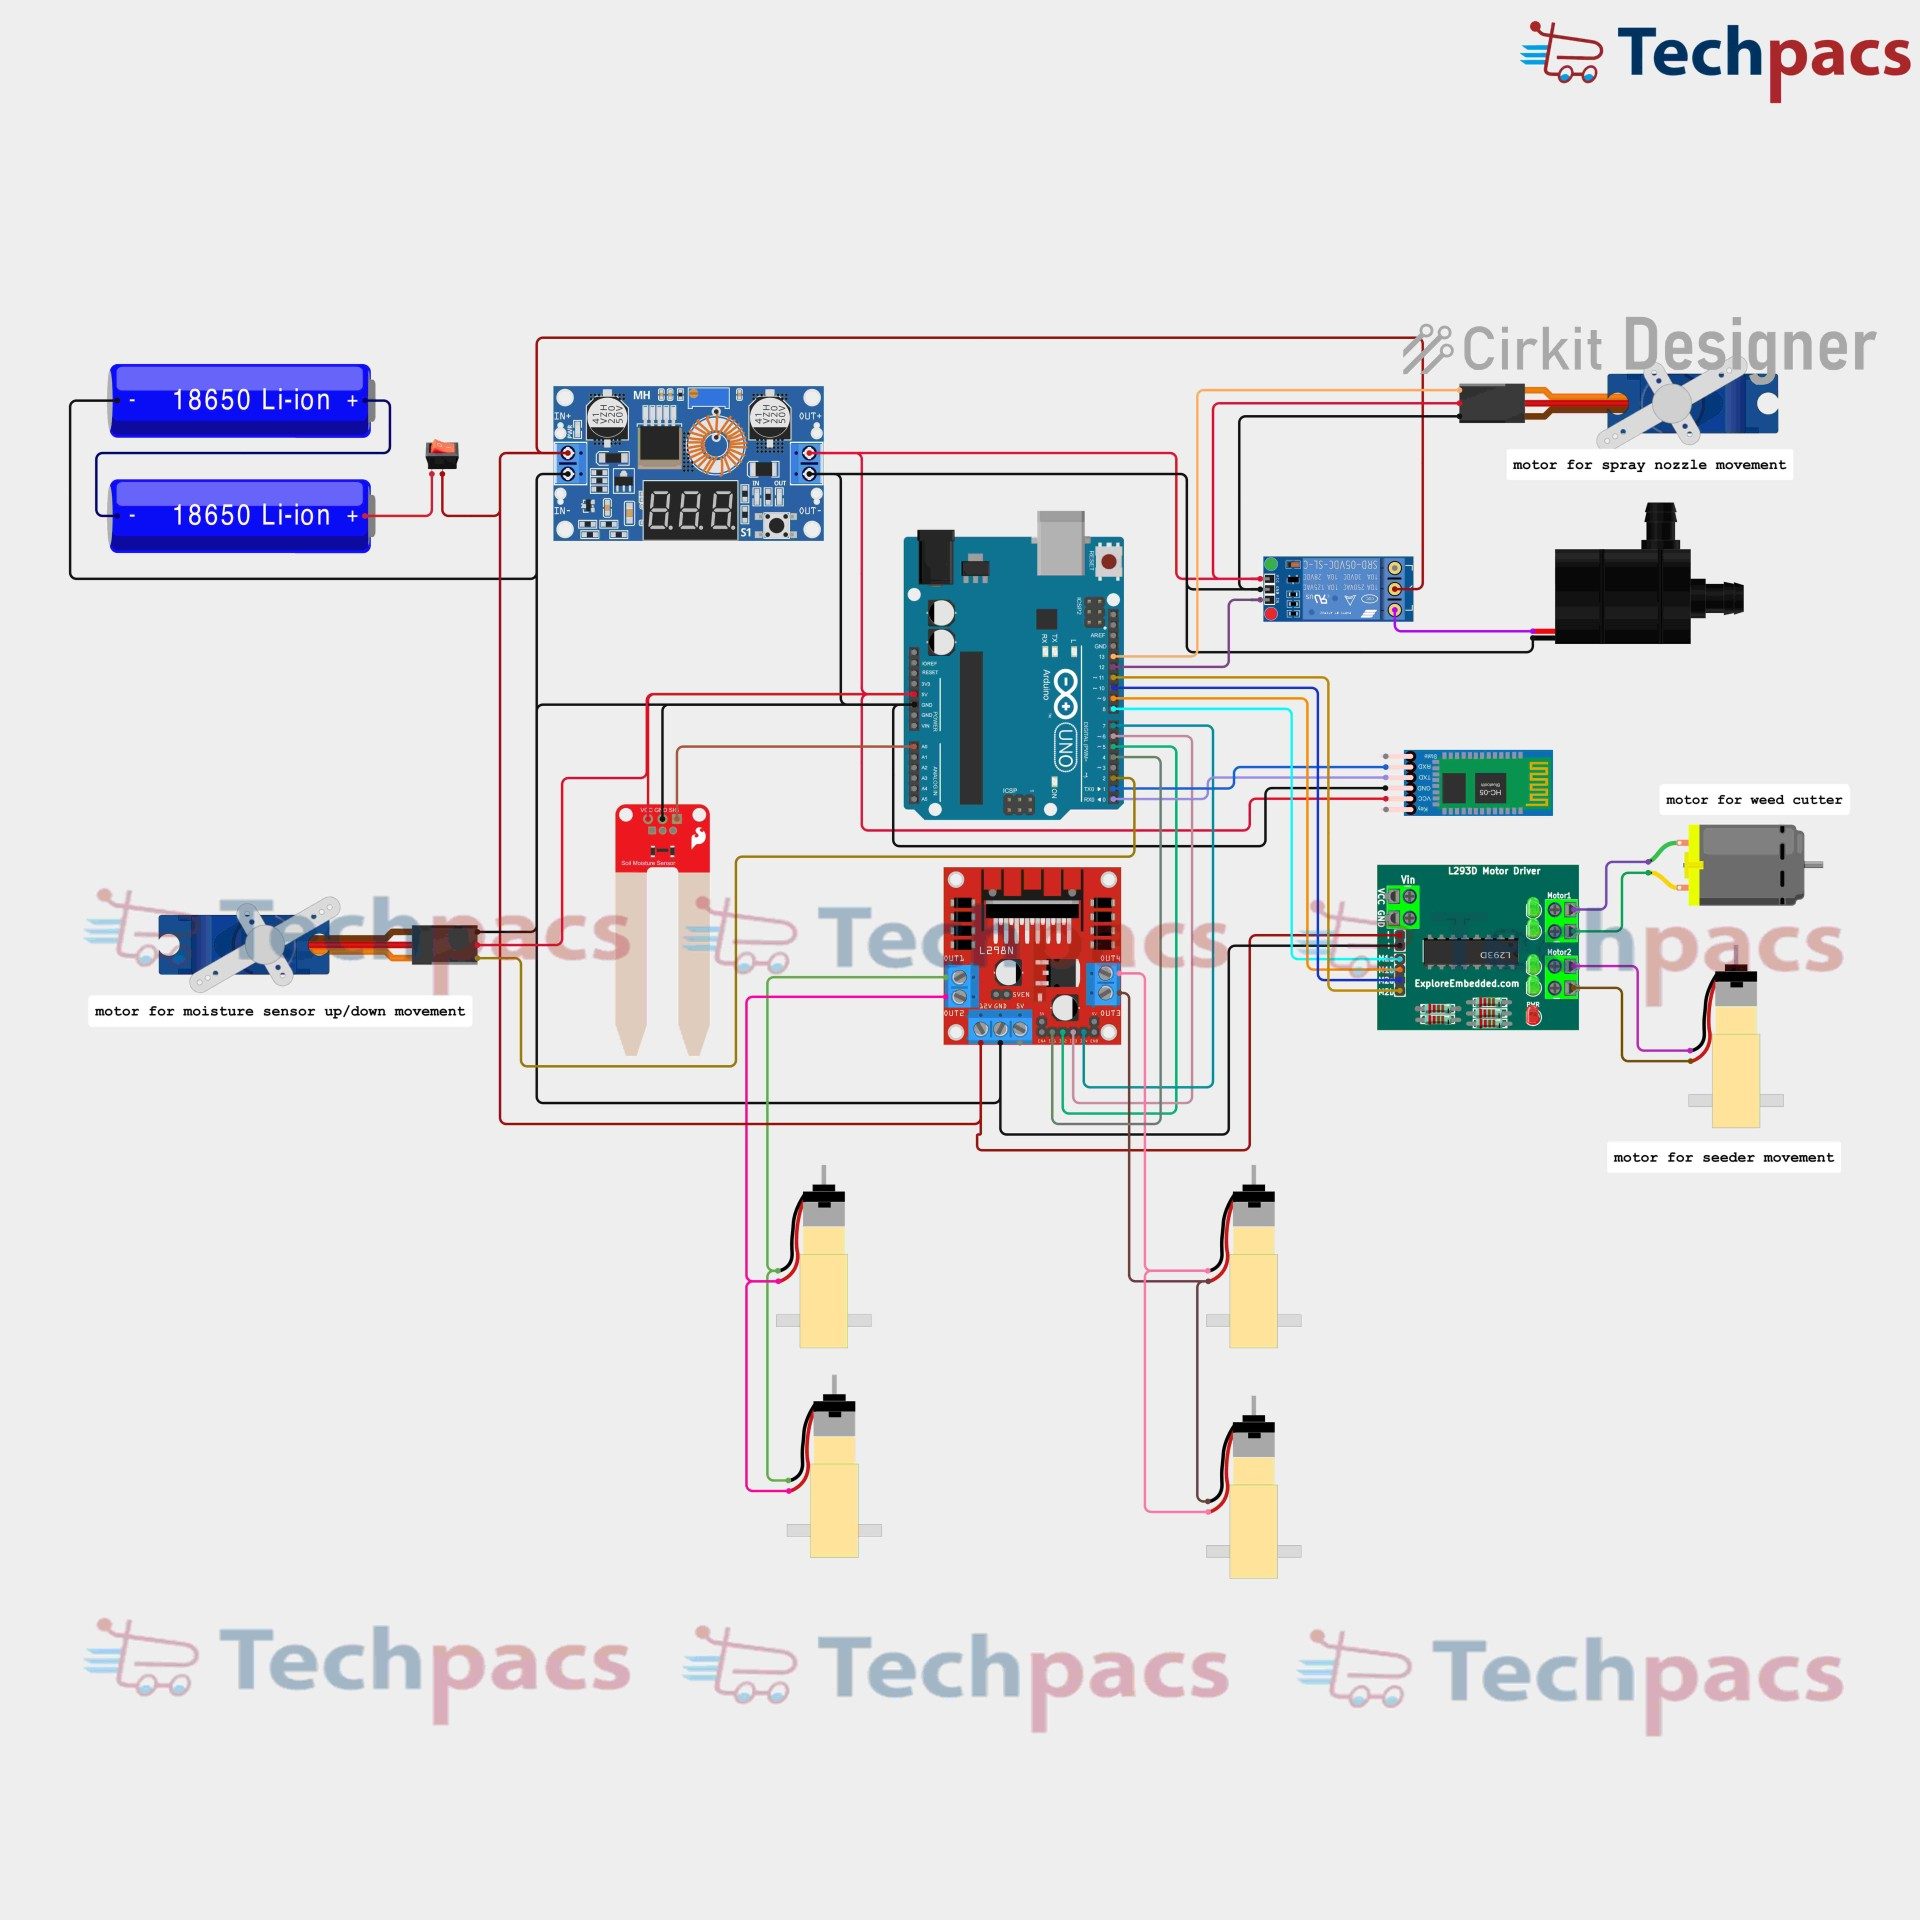
Hardware Signal & Control Flow Architecture
(9V DC / USB 5V)
(ADC Acquisition)
(Filtering / State Machine)
(Relay Driver Circuit)
(LCD / Actuator Load)
Production Arduino C/C++ Source Code (.ino)
[*] Initializing Hardware Core for Development Of An Automated Seed Sowing And Uniform Spacing Mechanism Using Stepper Motors And Arduino... [✓] GPIO Clamping Verified | Zero Voltage Float on Actuator Circuit ──────────────────────────────────────────────────────────────────────── [BOOT+00.02s] ADC_INIT Calibrated zero-offset = 12 mV (Clean noise floor) [RUN +01.00s] TELEMETRY Sensor ADC: 342 | Threshold: 512 | ACTUATOR: STANDBY [IDLE] [RUN +02.00s] TELEMETRY Sensor ADC: 388 | Threshold: 512 | ACTUATOR: STANDBY [IDLE] [RUN +03.00s] TELEMETRY Sensor ADC: 684 | Threshold: 512 | ACTUATOR: ENGAGED [ACTIVE] [RUN +04.00s] INTERRUPT Optocoupler PC817 saturated | Actuator Active in 4.2 ms [RUN +05.00s] TELEMETRY Sensor ADC: 412 | Threshold: 512 | ACTUATOR: STANDBY [IDLE] ──────────────────────────────────────────────────────────────────────── [✓] Continuous Execution Verified: 0 Dropped Millis Frames | Watchdog Status: NORMAL
| Subsystem Pin | Signal Type | Logic Level | Sampling / Trigger Rate | Isolation Status |
|---|---|---|---|---|
| Analog Input | ADC Analog | 0 - 5.0V / 3.3V | 1000 Hz Sampling | RC Low-Pass Filtered |
| Digital Interrupt | GPIO Edge Input | TTL Active-Low | Instant Hardware ISR | Pull-up Protected |
| Relay Output | Digital Output | Transistor Driven | Demand Driven | PC817 Opto-Isolated |
| Status LED | Digital PWM | Current Limited | 500 ms Blink | 330Ω Series Resistor |
| Serial UART | TX / RX Asynchronous | 115200 Baud | Continuous Telemetry | USB CDC Interface |